Before beginning here are a few things to keep in mind for sterilizing and canning:
- Aim to use non-reactive stainless steel pots when making jam, as this will help prevent a metallic taste in your jams.
- Make sure the fruit you are using has been washed and any bruises have been removed.
- Make sure the jars you are using aren’t cracked.
- Inspect jars and ensure there is no rust on the lids/rings and no chips on the glass of the jars. All jars and lids/rings should be washed in hot, soapy water before sterilization.
- Add jars that are ready for sterilization into hot water and boil for 10 minutes bring it to the boil, watching carefully with a timer. The sterilization times begin the second the water comes to a rolling boil.
- Jars can remain in the sterilization water until ready to use, keeping them sterile and hot – ready for hot jam or liquid. Remove jars from bath with clean utensils.
- When you start canning your jam, place circular lids on clean, filled jars and tighten the rings around them, protecting your fingers from the heat using a clean, dry tea towel. Tighten to finger-tightness.
- Canning water should come an inch (2.5 cm) over the jars when they have lids on and remain at a rolling boil of 212°F (100°C) for 10 minutes. Refill water as needed as some of it will evaporate. Heating the filled jars in the canner changes the atmospheric pressure, which creates a vacuum seal that will keep your treasured contents safe.
- Leave jars undisturbed for 24 hours and check that the seal has sunk in. If the seal has not indented, the product is not properly sterilized. Store finished and sterilized food in a dark, dry place until ready to use.
- Note: If at an altitude higher than 1,000ft, add 1 minute of boiling for each additional 1,000 ft.
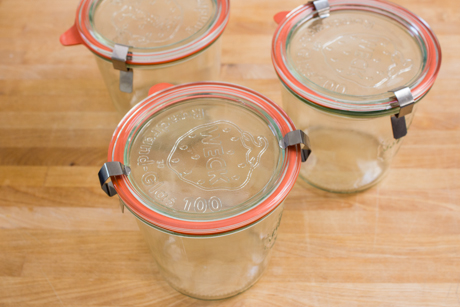
Jam is always made up of four main ingredients: fruit, pectin, acid, and sugar. To give you a better idea of how the proportions work together, we’ve broken down each individual ingredient.
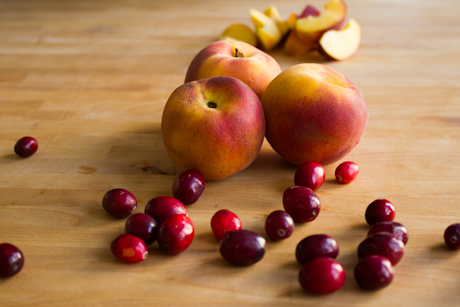
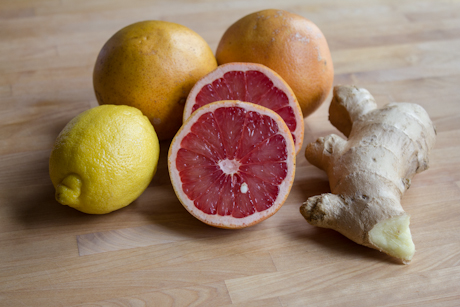
Fruit:
- The fruit provides the flavour, and it’s even okay to use under-ripe fruit as this will provide extra pectin that will assist in gelling the jam.
- It doesn’t matter if you are using fresh or frozen fruit, but it is best to follow the recipe and do what it says.
- Don’t try to double the recipe, especially when using pectin, as the jam will gel best if made in small batches. This is very important as pectin can easily be overcooked and the larger the recipe, the longer the cooking time.
Pectin:
- This is a fibre that is found in all fruits and vegetables, in varying amounts. When natural occurring or store-bought pectin is combined with sugar and acid and cooked, the result is delicious and set jam.
- Natural pectin is found in high concentrations under the skin of the fruit around the core of the fruit.
- Pectin levels are higher in under-ripe fruit, and begin to decrease as the fruit ripens. This is helpful knowledge when making jams with no added pectin.
- Pectin sold in stores is usually found in liquid or powder form and is normally extracted from citrus fruits.
- The store bought liquid and powder pectin are not interchangeable due to the concentration of pectin found in each product.
- It is easier to make jam using pectin because it takes less time to cook. Traditional recipes that don’t use pectin have to be cooked longer to reach a temperature of 220°F (120°C), which is when sugar bonds with pectin. This also provides more flavour.
Sugar:
- Sugar helps aid the pectin in the jelling process when making jam. It also acts as a preservative, allowing the jam to last for a long period of time.
- Brown sugar is not usually used as it can overpower the fruit flavour of the jam.
Acid:
- Acid is needed in jam in order to help the jam set properly, and it also helps to prevent the sugar from crystallizing.
- If there is not enough acid in the recipe, the jam will not gel. If there is too much acid, the jam will be too loose and not hold its shape.
- Some fruits are naturally low in acid (melons, strawberries, mangos, blueberries, peaches, and pears) and need to be combined with fruits that are high in acid (oranges, lemons, grapefruit, cranberries). However, most jam recipes simply use lemon juice or citric acid to raise the acid level.
In order to check if the jam is complete, here are some handy tips:
- Be patient, it can take 24 – 48 hours for jam to fully set.
- You can test if your jam is set by using the “wrinkle test”. Place three heatproof plates in the freezer right before you start making your jam. Once the jam has cooked for several minutes, remove one of the plates and place a little jam on the cold plate. Let it sit for one minute, then push the jam with your finger. If the jam has set it will wrinkle. If the jam is still too loose, cook 3 – 5 minutes more before testing again.
- If you reduce the amount of sugar in the recipe too much, the jam may not be able set properly.
Recipes
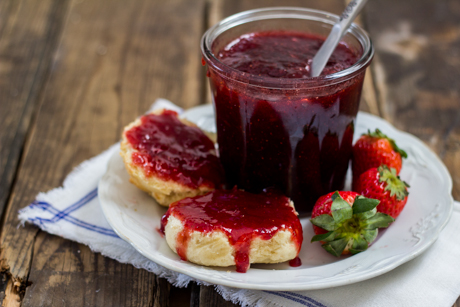
You can make jam a couple of different ways, either with added pectin or with just sugar. You can see the difference between each type of recipe by checking out our recipes for strawberry jam here:
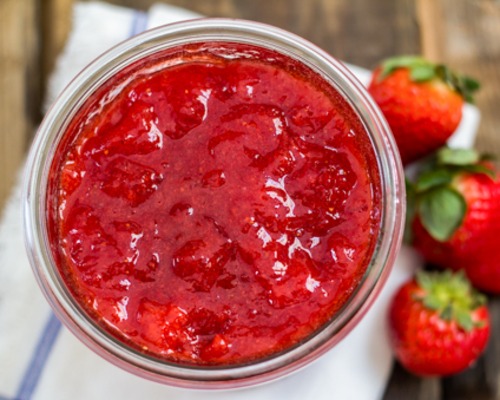
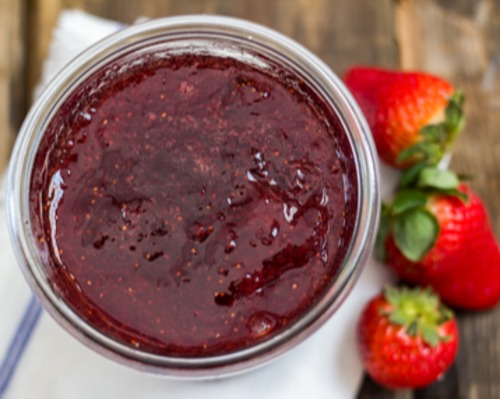
Strawberry Jam with Pectin | Strawberry Jam without Pectin