Step 1
In the bowl of a stand mixer with the hook attachment, combine bread flour, sourdough starter, water, sugar, and oil.
Step 2
On low speed, mix until dough pulls away and cleans the sides of the bowl; about 3 to 5 minutes. Cover mixer bowl loosely with plastic wrap to prevent dough from drying out, and allow to rest 15 minutes.
Step 3
Sprinkle fine sea salt over the dough. Mix until salt is incorporated into the dough and forms a smooth ball; about 5 minutes.
Step 4
Grease a large bowl with a small amount of oil. Place dough into the bowl, flipping the ball of dough to lightly grease the top of the dough. Flip ball over. Cover bowl with plastic wrap and let it rest in a warm place, free from drafts. Let dough double in size. This will take from 1 to 2 hours. Once doubled in size, sprinkle the bottom of a dutch oven with cornmeal; this will prevent the sourdough from sticking to the bottom of the pot.
Step 5
Being careful not to deflate the dough too much, transfer the dough to a very lightly floured surface. Shape and round the dough by moving the dough in a circular motion by pushing and pulling the dough, making sure the bottom side stays in contact with the work surface.
Step 6
Once rounded and satisfied with the shape, place the sourdough into the prepared dutch oven. Cover with the lid. Let it rise again until almost doubled; about an hour. Meanwhile, preheat oven to 450℉ (220℃).
Step 7
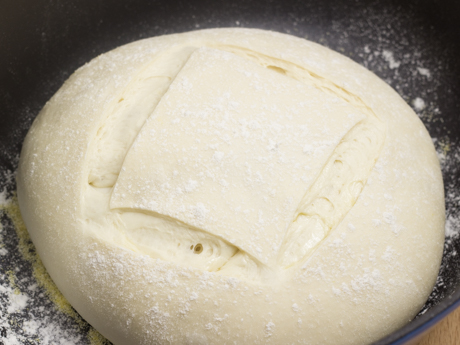
Once dough has proofed and is ready to go in the oven, dust the top of the dough lightly with bread flour. Take a sharp paring knife or a serrated knife and carefully slash a quarter inch deep “#” or “X” or “/” into the top of the dough.
Step 8
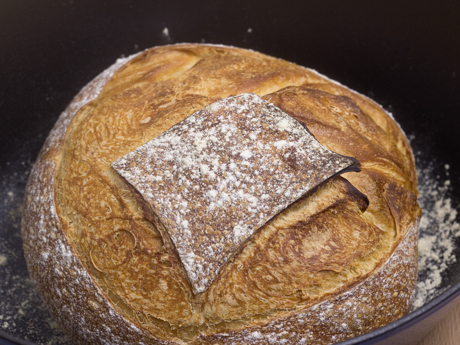
Place Dutch oven with the lid on, into the hot oven. Bake for 10 minutes. Reduce oven temperature to 400℉ (200℃) and bake for 10 minutes. Take lid off. Bake for an additional 15 to 25 minutes or until the internal temperature reaches 212℉ (100℃). The crust should be a deep golden brown and when tapped should produce a hollow sound. It should also feel light for its size.
Step 9
Take out of oven, and immediately remove sourdough from the Dutch oven. Cool completely on a wire rack before cutting. Bread can be kept up to 3 days well wrapped in plastic wrap at room temperature or frozen for up to 2 weeks or longer.
Step 1
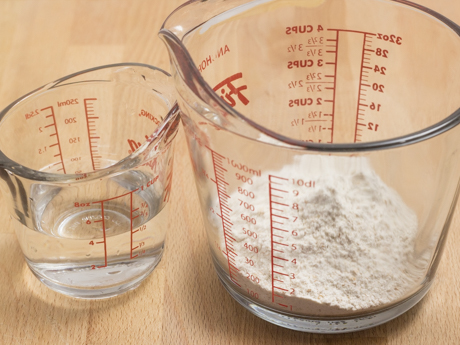
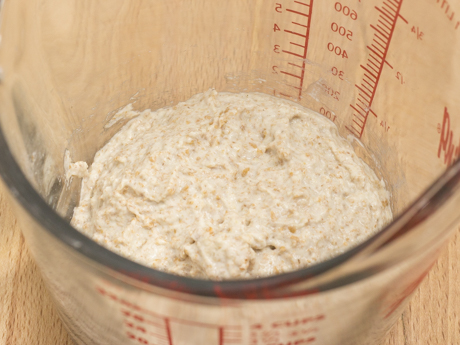
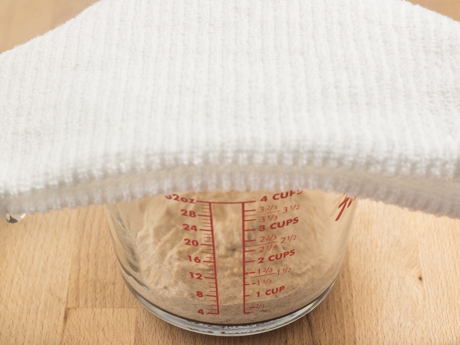
In a large clean container or 4-cup measuring cup, combine whole wheat flour and distilled water until the flour absorbs all of the water and a homogenous dough forms.
*If distilled water is not available, allow tap water to dechlorinate by allowing a jug of water loosely covered to sit on a counter overnight. Alternatively, boiling water will get rid of the chlorine that may be present in tap water; allow it to cool slightly to room temperature before using.
Step 2
Loosely cover with plastic wrap or a clean kitchen towel. Set in a warm location. The bacteria present in the air and surroundings will combine with the warm water, and the wild yeast present on the flour which will break down into a form of sugar which will “feed” the yeast, producing a gas (carbon dioxide). This bubbling action is what makes a loaf of bread rise without the need of additional yeast.
Step 1
Combine starter with the bread flour and water, until well mixed. Ensure no pockets of dried flour are present and water is absorbed. Transfer to a larger container if necessary. Place starter in a warm location. Repeat this procedure for 5 days.
Step 1
Take out 25% of the starter, and throw out the rest or gift it to someone. Add 75% of bread flour and water. (37.5% flour and 37.5% water) For example: weight of entire starter = 4 cups (1000 g), 25% of 4 cups = 1 cup (250 g) of starter. Required to have 3 cups + 2 tablespoons (375 g) bread flour, and 1½ cups + 1 tablespoon (375 ml) water.
Step 2
In a large container, combine 1 cup starter with bread flour and water, until flour has absorbed all of the water.
*If unable to feed starter for a long period of time, place covered container into the fridge, or for an indefinite amount of time, place into freezer. Do not use a glass vessel if placing into freezer. Take starter out of fridge and allow to come to room temperature before proceeding to feed it; about an hour. Take starter out of the freezer at least a day or two to thaw out before feeding it. After a few feedings, the starter should bounce back (it should double or triple in size).
*If a starter begins to smell like stinky feet or a mold develops, the starter has died. Throw away, and start the process over again.
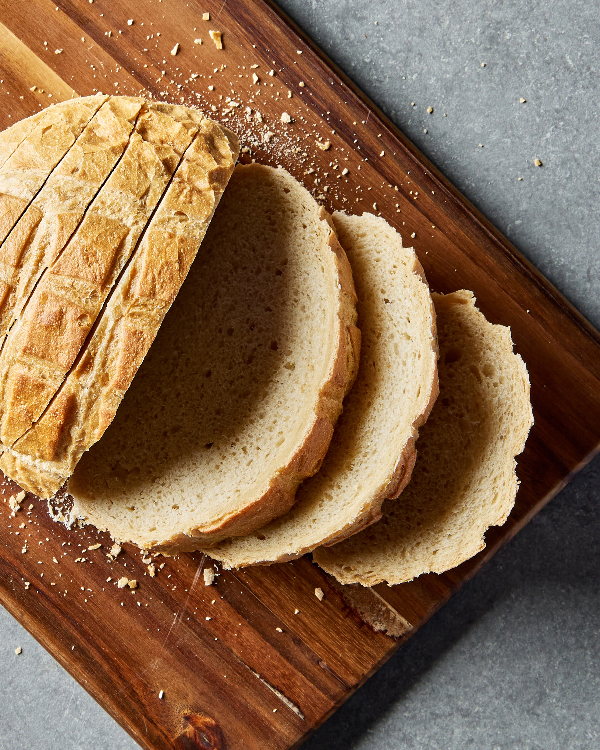
*It is best to use a starter that has had several feedings over a course of a few weeks to ensure a more mature and active starter that will have enough power and lift to produce a well-risen sourdough.
*Don't be discouraged, sourdough can be temperamental and may take several attempts before a satisfactory loaf is achieved.
*Proofing times may vary, depending on the activeness of the starter and warmth of the kitchen. In colder months, an hour proofing time may take upwards to 4 hours to 6 hours. Be patient.
*If unsuccessful in keeping a starter active and alive , one may be able to purchase some at the local bakery.
*Bread can be frozen once it is completely cooled. Double wrap in plastic wrap, and place in freezer. To reheat, preheat oven to 500℉ (250℃), lightly mist unwrapped frozen sourdough with water. Place into preheated oven for 3 to 5 minutes.


